Welcome to the Hunter Ceiling Fan Manual. This guide provides essential instructions for installation, operation, and troubleshooting to ensure optimal performance and safety.
Importance of the Manual
This manual is essential for ensuring the safe and efficient operation of your Hunter ceiling fan. It provides detailed instructions for installation, troubleshooting, and maintenance, helping you avoid common issues and extend the fan’s lifespan. The guide also includes a parts list and warranty information, making it a vital resource for repairs and replacements. By following the manual, you can optimize your fan’s performance and enjoy its benefits for years to come. Refer to it regularly to address any concerns and maintain your fan’s optimal condition.

Installation Guide
The installation guide provides step-by-step instructions for safely mounting and wiring your Hunter ceiling fan. It ensures proper setup for optimal performance and longevity.
Types of Mounting
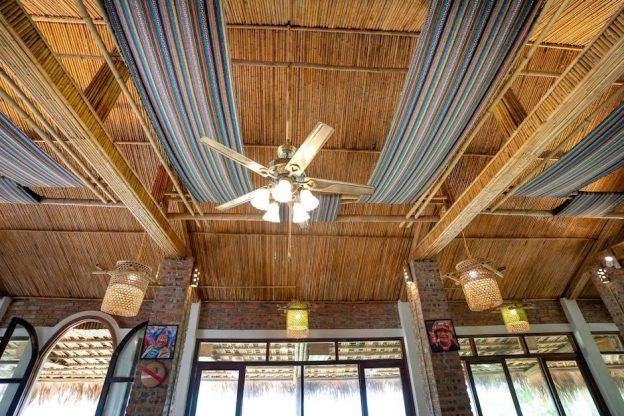
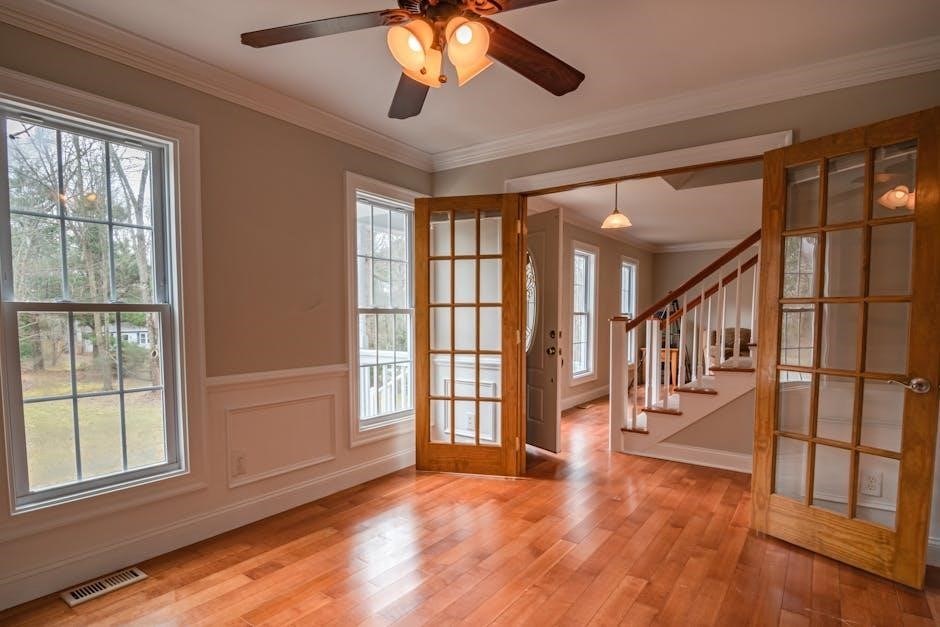
Hunter ceiling fans offer two primary mounting options: standard and angled. Standard mounting is suitable for flat ceilings, ensuring the fan hangs evenly. Angled mounting is designed for vaulted or sloped ceilings, requiring an angled mounting kit for stability. Each method ensures secure installation and optimal performance. Proper mounting is crucial for safety and efficiency, so choose the right type based on your ceiling structure. Always refer to the manual for specific hardware requirements.
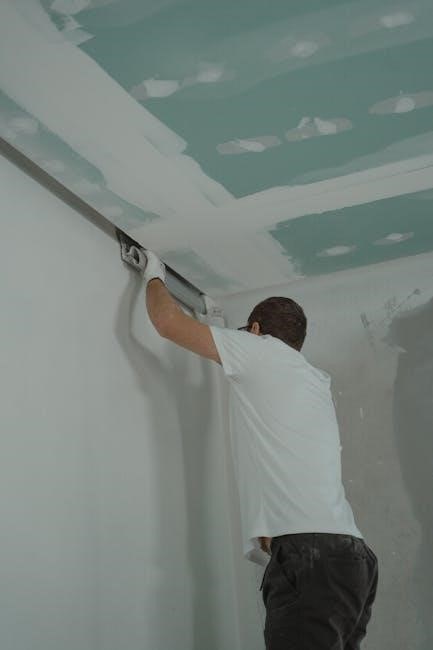
Step-by-Step Installation
Begin by assembling the fan components, including attaching blades to the motor housing. Next, secure the ceiling plate using the provided screws and isolators. Mount the fan body to the ceiling plate, ensuring all connections are tight. Install the light kit if applicable and connect electrical wires according to the manual. Finally, test the fan to ensure proper operation. Always follow safety precautions and consult the manual for specific instructions. Proper installation ensures optimal performance and longevity of your Hunter ceiling fan.
Wiring Instructions
Carefully identify and connect the electrical wires according to the manual. Match the black (hot) wire to the fan’s black wire and the white (neutral) wire to the fan’s white wire. If a light kit is installed, connect the blue wire to the corresponding light wire. Ensure all connections are secure and insulated. Turn the power off before starting and consult a licensed electrician if unsure. Proper wiring ensures safe and efficient operation of your Hunter ceiling fan.
Ceiling Height Considerations
For optimal performance, ensure your Hunter ceiling fan is installed at the correct height. Standard installations typically place the fan blades 12 inches from the ceiling and 7 feet from the floor. For vaulted ceilings with a pitch up to 45 degrees, use the Hunter Vaulted Ceiling Mounting Kit to maintain proper blade clearance. Always check the manual for specific height requirements and ensure the fan is securely mounted to avoid wobbling or instability. Proper ceiling height installation ensures both safety and efficiency.
Troubleshooting
Identify and resolve common issues with your Hunter ceiling fan using this section. Address problems like wobbling, noise, or light malfunctions with step-by-step solutions.
Common Issues
Common issues with Hunter ceiling fans include wobbling, unusual noise, or inconsistent operation. These problems often arise from improper installation, such as uneven blade balance or loose mounting hardware. Other issues may involve electrical connections, like dimming or flickering lights, which could indicate faulty wiring or a malfunctioning light kit. Regular maintenance, such as cleaning Blades and checking for wear, can prevent many of these problems. Always consult the manual for troubleshooting steps before attempting repairs.
Resolving Problems
To resolve issues with your Hunter ceiling fan, start by identifying the root cause. For wobbling, check blade balance and tighten mounting hardware. Noise may require lubricating moving parts or replacing worn components. Electrical issues, like dimming lights, should be addressed by checking wiring connections and ensuring proper installation. Refer to the manual for specific troubleshooting steps and guidelines. If problems persist, contact Hunter support or a licensed electrician for professional assistance to ensure safety and optimal performance.

Maintenance
Regular maintenance ensures optimal performance. Clean blades and housing with a soft cloth, lubricate moving parts, and inspect blades for damage. Adjust balance for smooth operation.
Cleaning
Regular cleaning is essential for maintaining your Hunter ceiling fan’s efficiency and appearance. Turn off the power at the electrical source before starting. Use a soft, dry microfiber cloth to wipe down the motor housing, light kit, and fan blades. For tougher dust or grime, a slightly damp cloth may be used, but avoid harsh chemicals or excessive moisture. Clean the light kit gently, ensuring no liquids enter electrical components. After cleaning, inspect the fan for balance and adjust if necessary to prevent wobbling. This routine maintenance ensures smooth operation and longevity of your ceiling fan.
Lubrication
hunter ceiling fans are designed with sealed bearings that require no routine lubrication. However, if unusual noise or vibration occurs, inspect the fan for dust buildup or misalignment. Clean the fan blades and motor housing with a soft brush or cloth. Lubrication is typically not needed, as it may damage the motor or void the warranty. If issues persist, refer to the manual or contact Hunter support for assistance. Proper maintenance ensures optimal performance and longevity of your ceiling fan.
Blade Inspection
Regular blade inspection is crucial for maintaining your Hunter ceiling fan’s performance and safety. Check for dust, debris, or damage that may affect balance or airflow. Ensure all blades are securely attached and evenly spaced. If you notice wobbling, tighten any loose screws or consult the manual for balance adjustment instructions. Damaged blades should be replaced immediately to prevent vibration or noise. Neglecting blade inspection can lead to reduced efficiency or safety hazards. Always follow the manufacturer’s guidelines for proper maintenance and inspection procedures.
Balance Adjustment
Balancing Adjustment
If your fan wobbles, balance adjustment is necessary. Start by ensuring all blades are clean and evenly spaced. Check for loose screws and tighten them. If the issue persists, use the provided balance kit. Attach weights to the blades, testing until wobbling stops. For severe imbalance, consult the manual or contact support. Proper balancing ensures smooth operation, reduces noise, and prevents damage. Regular checks maintain optimal performance and safety. Always follow the manufacturer’s guidelines for precise adjustments and troubleshooting.
Parts Guide
The Hunter ceiling fan parts guide provides a detailed list of components, including blades, motors, and light kits. Use it to identify and order replacement parts easily.
Identifying Parts
The Hunter ceiling fan parts guide helps you identify components by model or part number. Each part is listed with descriptions, enabling easy recognition and ordering. For example, if your remote is lost or a glass globe is broken, the guide provides specific part numbers. Use these numbers to search for replacements on Hunter’s website or authorized retailers like Home Depot. This ensures you purchase the correct part for your fan model, avoiding delays in repairs or maintenance.
Ordering Replacement Parts
To order replacement parts for your Hunter ceiling fan, refer to the parts guide for your specific model. Identify the part number and description, then visit Hunter’s official website or authorized retailers like Home Depot. Use the part number to search for availability and place your order. For assistance, contact Hunter’s customer support at 1.888.227.2178 or visit their support page. Ensure the part number matches your fan model to avoid incorrect purchases.
Operation
Operate your Hunter ceiling fan using the remote, wall switch, or pull chain. Adjust speed settings, turn the light kit on/off, and use timers for convenient control.
Controls and Settings
Your Hunter ceiling fan comes with intuitive controls, including a remote, wall switch, or pull chain. Use the remote to adjust fan speed, turn the light kit on/off, or set timers for convenient operation. The wall switch offers quick access to basic functions, while the pull chain provides manual control. Programming the remote ensures seamless integration with your fan’s features. Refer to the manual for specific instructions on pairing devices or troubleshooting connectivity issues.
Speed Settings
The Hunter ceiling fan offers multiple speed settings to suit your comfort needs. Use the remote or wall control to adjust between low, medium, and high speeds. For energy efficiency, run the fan on low speed during mild weather or reverse direction in winter to circulate warm air; Ensure the fan is turned off before adjusting settings. Proper speed adjustments can optimize airflow and energy consumption. Always refer to the manual for specific instructions on speed control and directional settings for your model.
Light Kit Operation
The Hunter ceiling fan light kit provides versatile illumination. Use the remote or wall control to adjust brightness and toggle the light on/off. Replace bulbs with dimmable LED or incandescent options up to 60W. Always turn off power before changing bulbs. For troubleshooting, reset the remote by turning the circuit off for 15 seconds, then on again. Ensure compatibility with UL-listed bulbs for safety and performance. Refer to the manual for specific light kit features and operation instructions for your model.
Safety
Always turn off power before maintenance. Ensure the fan is securely installed to avoid accidents. Follow manual instructions for weight handling and electrical connections.
Precautions
For safe operation, ensure the fan is installed on a secure ceiling support. Always turn off power before performing maintenance or repairs. Avoid overloading the fan with excessive weight. Keep children away from moving parts. Never operate the fan near water or in extreme temperatures. Use only approved replacement parts to maintain safety standards. If unsure about installation or repairs, consult a licensed electrician. Regularly inspect the fan for wear and tear to prevent accidents.
Weight and Handling
Hunter ceiling fans can weigh up to 50 pounds, requiring careful handling during installation. Always use two people to lift and install the fan to avoid injury. Ensure the ceiling mount is securely attached to a sturdy joist to support the fan’s weight. Avoid overhanging objects or people during installation. Use proper lifting techniques to prevent strain or damage. If unsure about the ceiling’s structural integrity, consult a professional before proceeding. Proper handling ensures safe installation and optimal performance of your ceiling fan. Always follow manufacturer guidelines for weight limits and safety precautions.
Model-Specific Guides
Find detailed instructions tailored to your Hunter ceiling fan model. This section provides specific guides for models like the Type 2A series, ensuring accurate installation and operation.
Type 2A Series
The Type 2A series of Hunter ceiling fans offers a sleek design with enhanced performance. This manual provides specific installation instructions for 2A series models, including angled mounting and standard installations. For vaulted ceilings with up to a 45-degree pitch, use the Hunter Vaulted Ceiling Mounting Kit. Ensure the ceiling plate is securely fastened using M5 x 30 mm screws and rubber isolators to prevent noise and vibration. Refer to Figures 2a and 2b for correct ceiling plate orientation and isolator placement. This guide also covers blade installation and balance adjustment for optimal operation. Always follow safety precautions and wiring instructions carefully to ensure proper functionality and longevity of your fan.
Warranty
Hunter ceiling fans are backed by a comprehensive warranty covering defects in materials and workmanship. Registration is required for warranty activation, and claims can be filed through Hunter’s support site or authorized dealers.
Coverage
The warranty coverage includes repairs or replacements for defective parts and labor for a specified period. Motor, blades, and light kits are typically covered, while glass globes and bulbs may have limited coverage. Cosmetic damages or improper installations are excluded. Coverage terms vary by model and series, with detailed information provided in the warranty section of the manual. Proper registration and adherence to maintenance guidelines ensure warranty validity.
Process
To initiate a warranty claim, register your Hunter ceiling fan on the official website or through the provided registration form. Ensure to include the model number and purchase date. If an issue arises, contact Hunter Support with detailed information about the problem. A representative will guide you through troubleshooting or arrange for repairs. Replacement parts or full units will be provided if the issue is deemed warranty-eligible. All repairs must be conducted by authorized service centers to maintain warranty validity.
Support
Hunter provides comprehensive support through online resources, including troubleshooting guides, manuals, and FAQs. Contact their team via phone or email for direct assistance.
Contact Information
For assistance with your Hunter ceiling fan, contact their support team at 1.888.227.2178 (Monday ⎻ Friday, 8AM to 5PM CST). You can also email them or visit their official website for additional resources and support options. Their dedicated team is ready to help with any inquiries or issues you may have.
Online Resources
Hunter Fan provides comprehensive online resources to support your ceiling fan needs. Visit their official website or authorized platforms for downloadable PDF manuals, troubleshooting guides, and replacement part information. Additionally, their support page offers detailed installation instructions, maintenance tips, and warranty details. These resources ensure you can easily resolve issues or find necessary parts to keep your fan operating efficiently. Utilize these tools to maximize your fan’s performance and extend its lifespan.

Accessories
Enhance your Hunter ceiling fan with optional accessories like light kits, downrods, and angled mounting kits. These additions provide flexibility and customization to suit your specific needs and style preferences.
Kits Available
Hunter offers a variety of accessory kits to enhance functionality and style. Light kits add ambient illumination, while angled mounting kits are ideal for vaulted ceilings. Additional options include downrod extensions, ensuring proper installation heights, and remote control kits for convenient operation. These kits are designed to be compatible with specific fan models, ensuring seamless integration and optimal performance. Always refer to the manual for compatibility details and installation instructions to maintain safety and warranty coverage.
Upgrades
Hunter ceiling fans offer various upgrade options to enhance performance and aesthetics. LED light kits provide energy-efficient illumination, while advanced remote controls add smart features like speed adjustment and timer functions. Upgraded blade sets can improve airflow or match décor. Additionally, downrod extensions and angled mounting kits ensure proper installation in high or sloped ceilings. For legacy models, retrofitting with modern accessories is possible. Always verify compatibility with your fan model and follow manual instructions for installation to maintain warranty coverage and ensure optimal functionality.